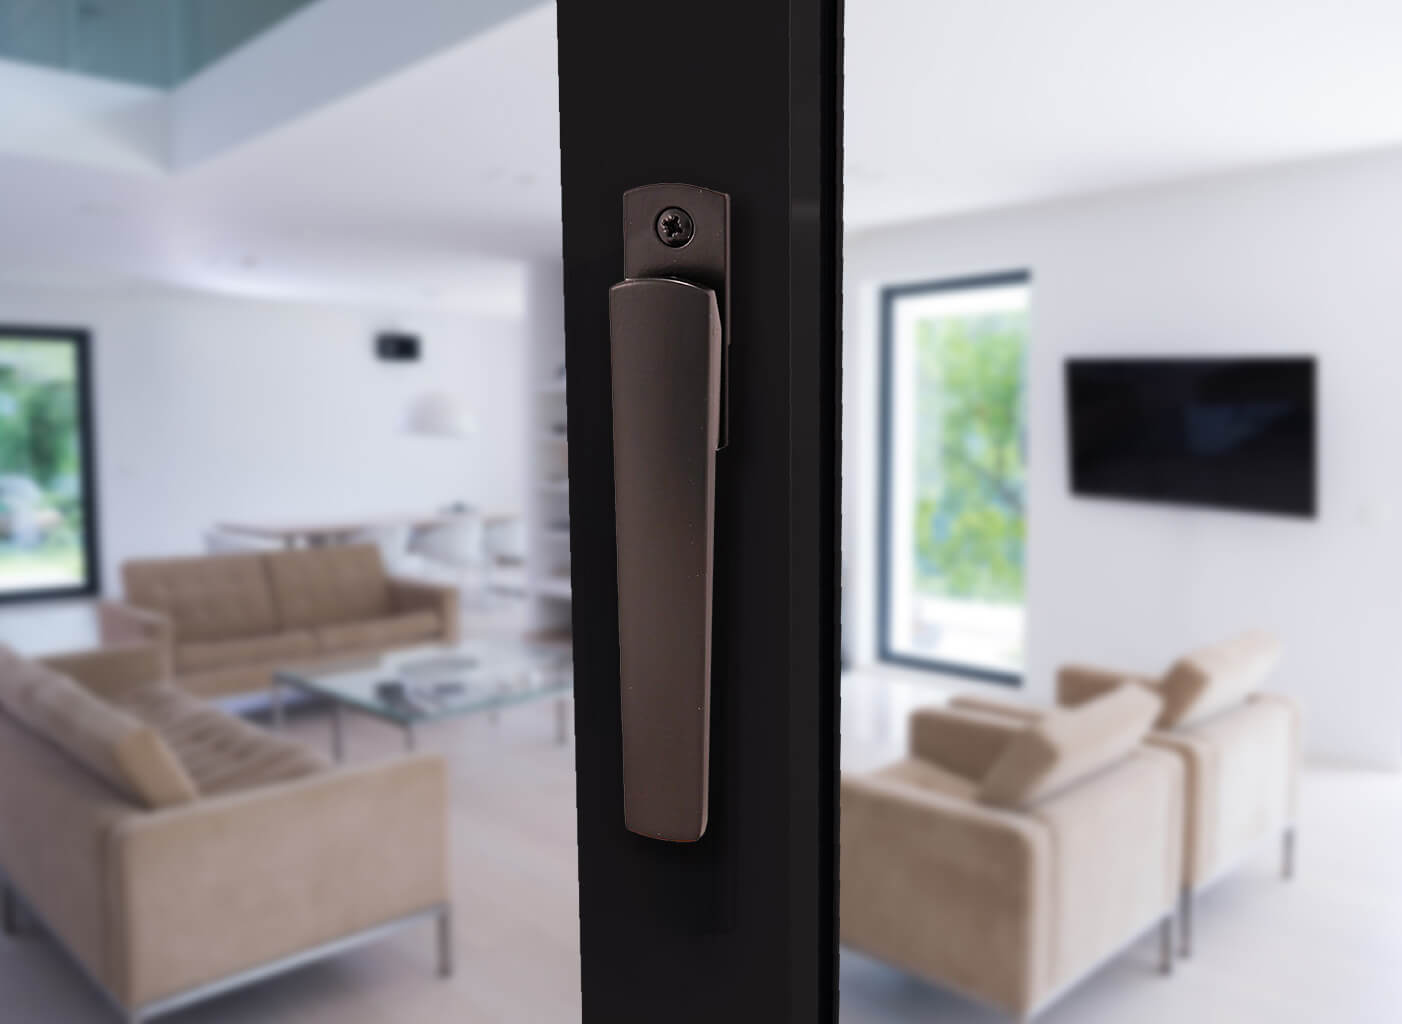
Welcome to our step-by-step guide on bi-fold door installation which includes everything from pre-installation considerations to detailed installation steps. Dive in to discover more about effectively and efficiently installing bi-folding doors.
Pre-installation considerations for bi-fold doors
It’s crucial you carefully plan and prepare before installing any bi-fold door to guarantee the installation process is as seamless as possible. Here are some of the key pre-installation aspects we’d recommend you consider:
Evaluating the property condition
From our experience, we’d always recommend that before any work begins you evaluate both the condition of the property and the areas where the doors will be installed.
You’ll need to check the door opening, door frame and door jamb are in good condition so that they can successfully support the weight of each bi-fold door panel. Plus, you’ll need to assess the structural condition of the surrounding areas so you’re confident that the bi-fold doors being inserted into external walls will be safe and secure.
Take accurate measurements
Taking accurate measurements is another essential part of the pre-installation process to ensure the external bi-fold doors are the right size and fit perfectly within the space to operate faultlessly.
Planning permissions and regulations
Once you have evaluated the property condition and taken accurate measurements, you’ll need to confirm whether any specific planning permissions and regulations apply. For instance, if the property you’re working in is located in a conservation area, there could be additional guidelines to follow.
Remember, always do your research to feel assured that the bi-fold doors you’re installing adhere to the latest UK building regulations.
Safety precautions and equipment
Safety should always be a top priority when it comes to undertaking any home improvement installation. Therefore, always remember to bring the appropriate safety equipment including gloves, eye wear and footwear to make sure you’re protected during the installation.
To confidently and accurately complete the project, you’ll not only need to follow the relevant safety guidelines but you’ll also need a range of suitable equipment such as a long spirit level, rubber or plastic mallet, tape measure, step ladder, drill and more.

Detailed guide on installing external bi-fold doors
With the right tools, equipment and materials at the ready, it’s time to move on to the step-by-step installation guide for external bi-fold doors.
Step 1 – Prepare the installation site
As previously mentioned, before starting the installation you’ll need to prepare the site and complete accurate measurements. This is because all external bi-fold door installations require incredible attention to detail and precise installation techniques. Don’t forget, you’ll also need to confirm whether any specific planning permission is required for the work.
Step 2 – Assembling the door frame
To assemble the outer frame, apply silicone to the outer frame connection joints and between the frame components.
Connect the outer frames and adjust as necessary.
Repeat the process for all four outer frame corners.
For the low threshold assembly, apply silicone to all frame connection joints and between the frame components. You’ll then need to use the specialist low threshold fixing kit to join the corner.
Make sure no water can escape the low threshold past the jambs.
![]()
Step 3 – Door frame installation
To install the outer frame, insert it into the prepared opening and pack to ensure it is held plumb and square inside the opening.
If a sub-sill is installed, we’d recommend running a silicone bead along the sub-sill rebate to ensure that the joint is weather tight.
Ensure to pack out every fixing point so that it is tight and supported. Then secure the frame with the most suitable screws and plugs.
When complete, double check the top and bottom frame are plumb and square over the entire length.
Then use silicone to ensure the perimeter is properly sealed and protected against water penetration at both the inside and outside of the opening.

Step 4 – Final installation and adjustments
Now that the door frame has been assembled and installed, the next steps are incredibly vital to guarantee that the complete system functions properly. This involves the adjustable jamb installation as well as door leaf installation, sliding post installation and glazing instructions.
If you’re looking for more detail on these fundamental steps of the installation process, we’ve developed a specialist manual which can offer more advice and guidance.
Common questions about how to install a bi-fold door

How much time does it take to install external bi-fold doors?
The installation of an external bi-fold door can vary depending on the size and complexity of the project, as well as the experience of the installer. In our experience, a standard three-panel set should take about three to four hours on average to install.
Is professional assistance necessary for installing bi-fold doors?
Yes, we’d always recommend working to a specific standard to ensure a swift and efficient installation. As a professional installer, homeowners are relying on you to have the relevant skills, tools and expertise to handle the complexities of a bi-fold door installation so be sure to deliver a quality service.
Professional and reliable installation
Stringently following the appropriate steps, securing relevant planning permissions and adhering to building regulations will help to avoid any potential system faults or problems. It also ensures optimal functionality of the bi-fold doors so your customer can enjoy benefits of this incredible system for many years to come.
To find out more information about bi-folding systems and how you can make them a part of your arsenal, get in touch today. Our team of experts can assist with installation training and fabrication training for those taking on our door system to ensure you succeed within this thriving market.

